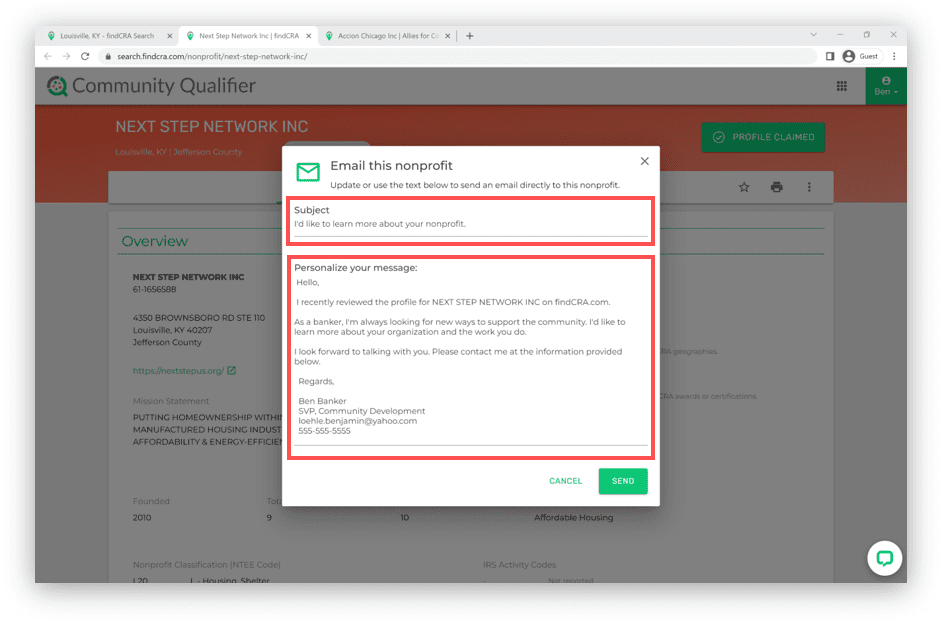
Reaching out to nonprofits on our site is easy. First, you’ll need to be logged in as a Bank User and have a paid subscription to Community Qualifier. Once you find a nonprofit you’re interested in contacting, you have various options for reaching out to them from their Nonprofit Profile.
Invite a Nonprofit to Claim its Profile
For any unclaimed nonprofit listed on findCRA, bank users can easily invite a representative of the nonprofit organization to claim its findCRA profile. Once you’ve opened a nonprofit profile, follow the steps below to invite a nonprofit to claim its profile.
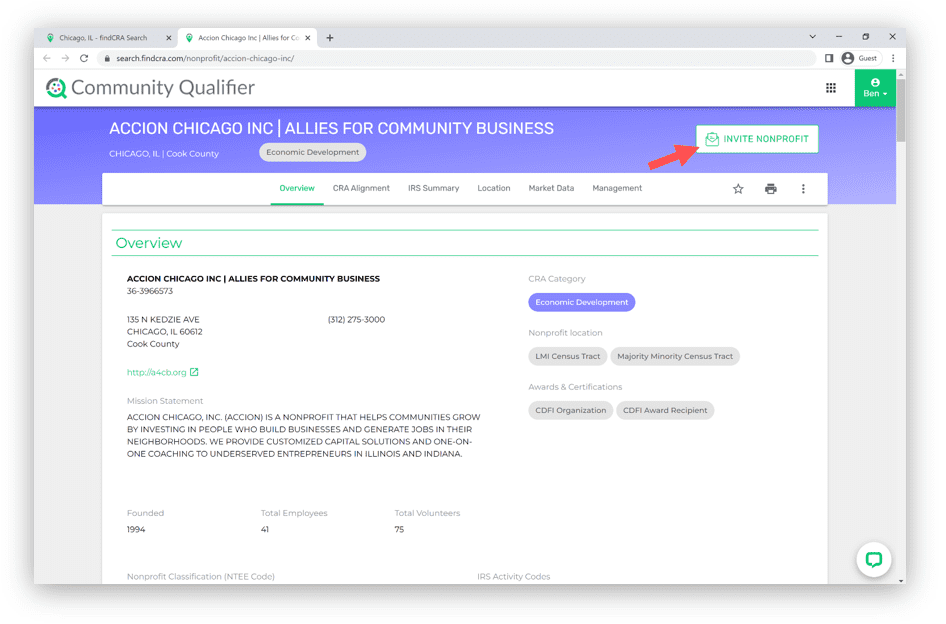
Step 1: Click the INVITE NONPROFIT button in the top right corner of the profile page.
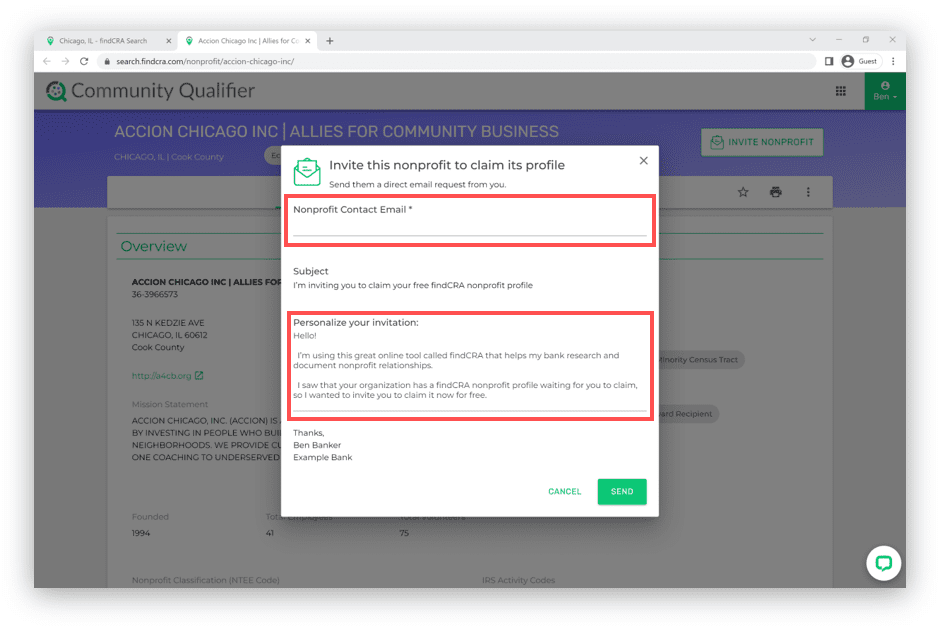
Step 2: Enter the nonprofit contact’s email address, customize your message and click SEND
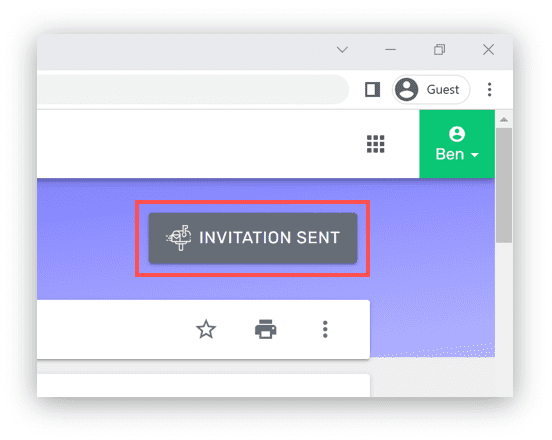
Once you send an invitation to a nonprofit using this feature, the “invite” button will deactivate and no additional invitations can be sent for that profile for up to twenty-one days. Also, the button appearance will update to a gray color and display “INVITATION SENT”. If the nonprofit isn’t claimed within twenty-one days, the button will re-activate and a new invitation can be sent to the nonprofit.
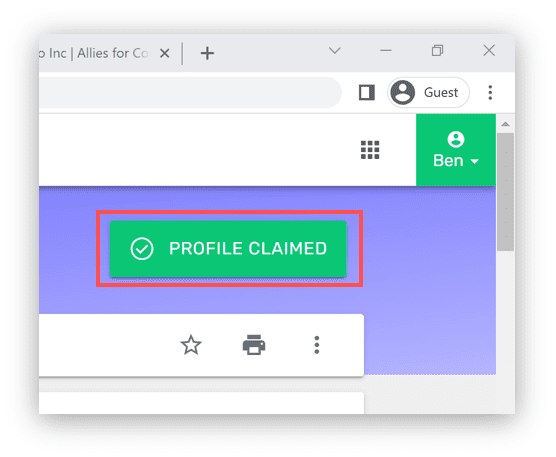
Once a nonprofit profile is claimed, the “invite” button becomes permanently inactive and the button appearance will update to a green color and display “PROFILE CLAIMED”.
Send an Email
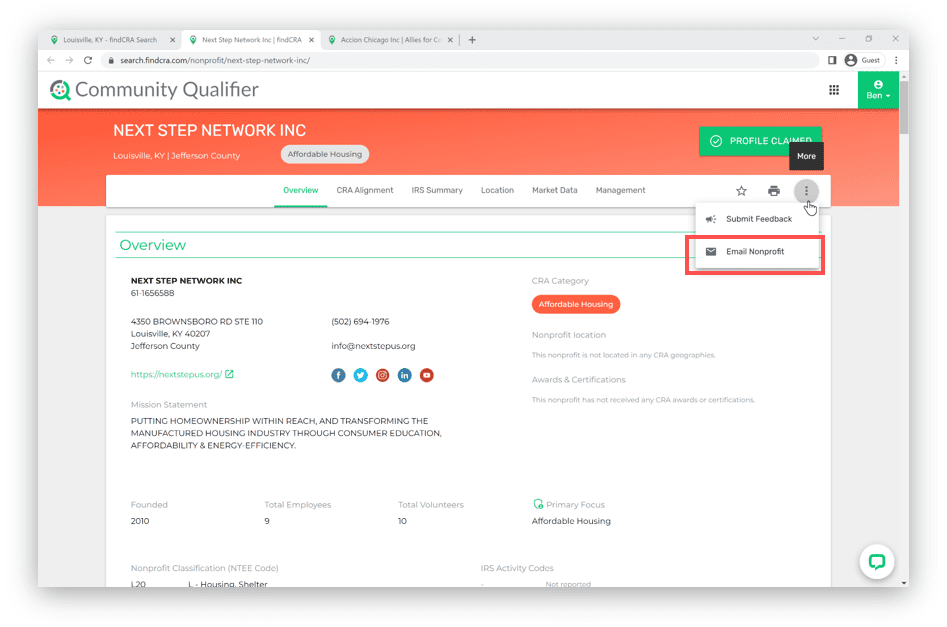
If the nonprofit has claimed their profile, you can email the nonprofit directly from their nonprofit profile. Your email messages with be automatically delivered from findCRA straight to the nonprofit’s inbox using the email address they’ve provided to us for this feature. Be sure to include your contact info and a brief message about why you’re reaching out, so the nonprofit can get in touch with you. Once you’ve opened the profile of a claimed nonprofit, follow the steps below to send the nonprofit an email.
Step 1: Open the “More” options dropdown menu and click the “Email Nonprofit” option
The “More” options dropdown menu can be opened by clicking the ellipses button on the far right side of the profile navigation bar.
Step 2: Compose the subject line and body of your email and click SEND.
We’ve provided placeholder content in these fields for your convenience, but you can edit, add or remove any of this content as you see fit.
